
Blogs
Weather Strips Mastering Comfort with Innovative EPDM Adhesives
Dec
In the quest for creating cozy and energy-efficient living spaces, the choice of weather strips plays a pivotal role. Among the various options available, EPDM (Ethylene Propylene Diene Monomer) weather strips stand out for their innovative design and exceptional performance. This guide explores the nuances of EPDM weather strips, focusing on three popular types: D Type, E Type, and I Type, along with the efficiency of a Door Bottom Seal with 06 Holes.

What is EPDM?
EPDM is a synthetic rubber compound known for its excellent weather resistance, durability, and flexibility. These properties make it an ideal material for weather strips, providing effective insulation against drafts, moisture, and noise.
D Type EPDM Weather Strip
The D Type EPDM weather strip is designed for versatile applications, offering a secure seal for doors and windows. Its unique shape ensures optimal performance in preventing heat loss and maintaining a comfortable indoor environment.
E Type EPDM Weather Strip
Crafted with precision, the E Type EPDM weather strip caters to specific sealing needs. Its enhanced design provides superior protection against drafts and helps in soundproofing, making it a preferred choice for various residential and commercial applications.
I Type EPDM Weather Strip
Engineered for efficiency, the I Type EPDM weather strip’s innovative structure ensures a tight seal, effectively blocking out external elements. This type is particularly useful for sealing gaps in windows and doors, contributing to energy savings.
Door Bottom Seal
A critical component in weatherproofing, the Door Bottom Seal with 06 Holes adds an extra layer of protection. Its strategically placed holes allow for easy installation while ensuring proper ventilation. The EPDM material used in the seal guarantees long-term durability and effectiveness.
Diffrent Types of Bottom Seals
Benefits of EPDM Weather Strips
- Energy Efficiency: EPDM weather strips create a thermal barrier, preventing heat transfer and reducing the load on heating and cooling systems.
- Weather Resistance: With exceptional resistance to weather conditions, EPDM ensures reliable performance even in extreme temperatures.
- Noise Reduction: The flexibility of EPDM helps in absorbing sound, making it an excellent choice for soundproofing applications.
- Easy Installation: The adaptable nature of EPDM weather strips makes them easy to install on various types of doors and windows.
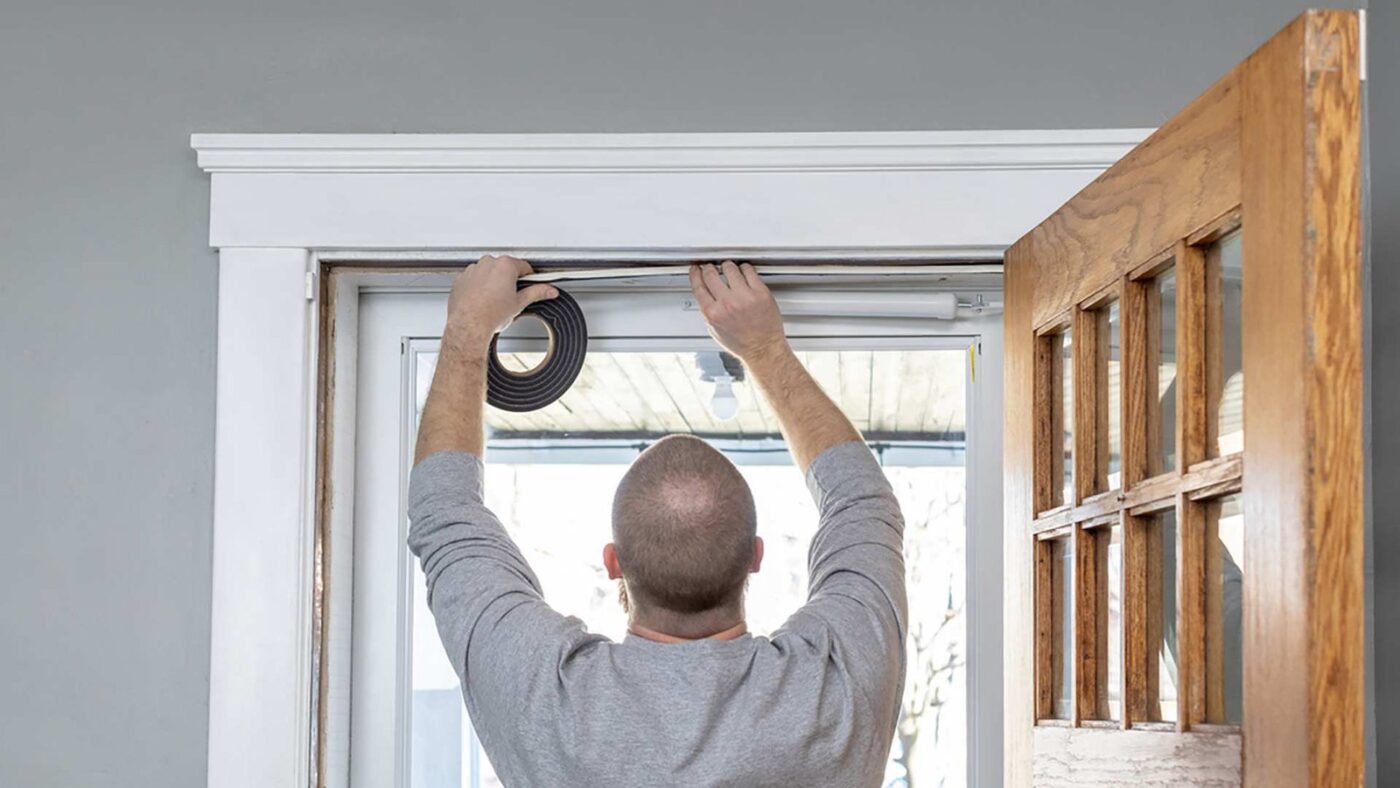
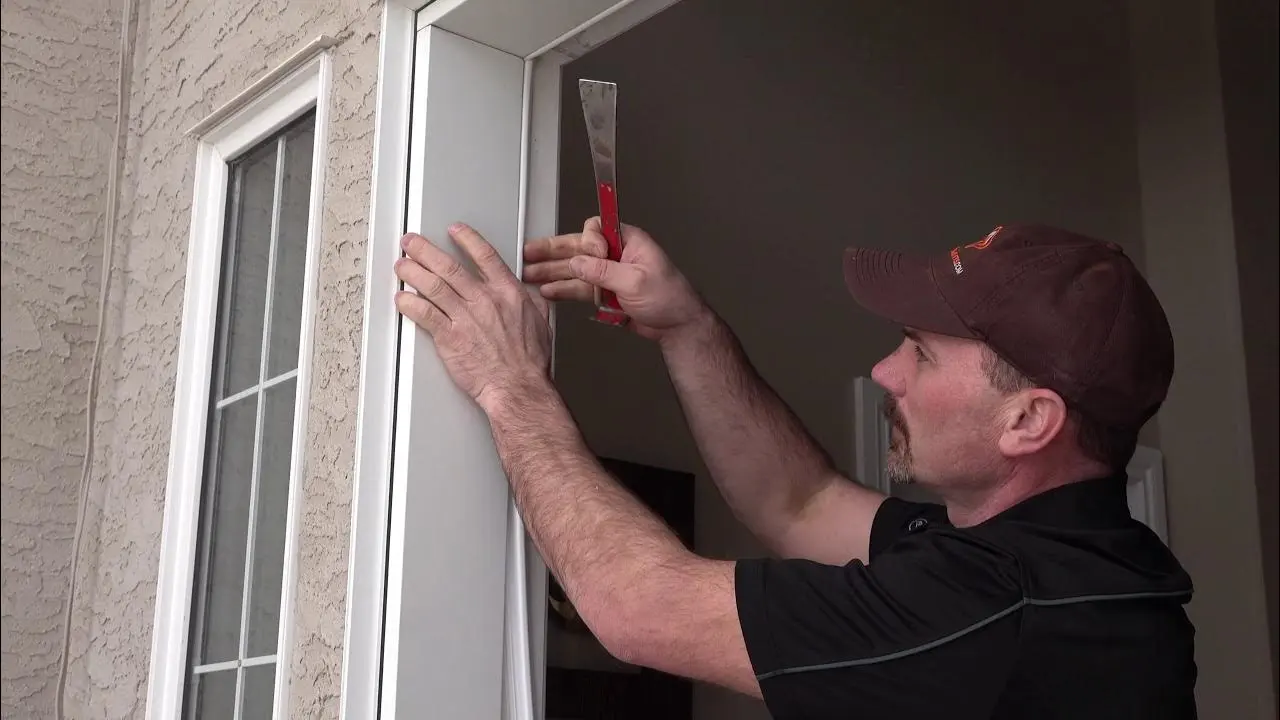
How to Install EPDM Weather Strips Properly
Proper installation is crucial for the effectiveness of EPDM weather strips. Follow these steps for optimal results:
- Clean the Surface: Before installation, ensure that the surface where the weather strip will be applied is clean and free from dust, dirt, and debris.
- Measure and Cut: Measure the length needed for the weather strip, and cut it with precision. Use appropriate tools to achieve clean and accurate cuts.
- Apply Adhesive: If the weather strip is adhesive-backed, carefully peel off the backing and apply the strip to the desired surface. Ensure even and firm pressure for proper adhesion.
- Use Fasteners (If Required): In cases where adhesive alone may not be sufficient, consider using additional fasteners like screws or nails to secure the weather strip firmly in place.
- Seal Corners and Joints: Pay special attention to corners and joints. Properly seal these areas to prevent any gaps that could compromise the effectiveness of the weather strip.
- Test for Proper Seal: After installation, test the door or window to ensure that the weather strip creates a tight seal. Make any necessary adjustments for optimal performance.
Conclusion
Mastering comfort in your living spaces requires attention to detail, and choosing the right weather strips is a significant step. The innovative design and reliable performance of EPDM weather strips, including the D Type, E Type, and I Type, along with the efficient Door Bottom Seal with 06 Holes, make them a top choice for homeowners seeking a cozy and energy-efficient environment. Invest in EPDM weather strips today, follow proper installation procedures, and experience the transformative impact on your home’s comfort and energy efficiency.